You can create a new full budget by importing your actual data from your cashbook. This will give the starting point for forecasting the revenue and expenses for the future. This method will save you a lot of time in collating the figures.
To create a new budget:
 From the Home Page, click on Budget
  Click on Full Budget
  Click on New Budget
 - The Setup or Alter a Budget opens
Choose the following options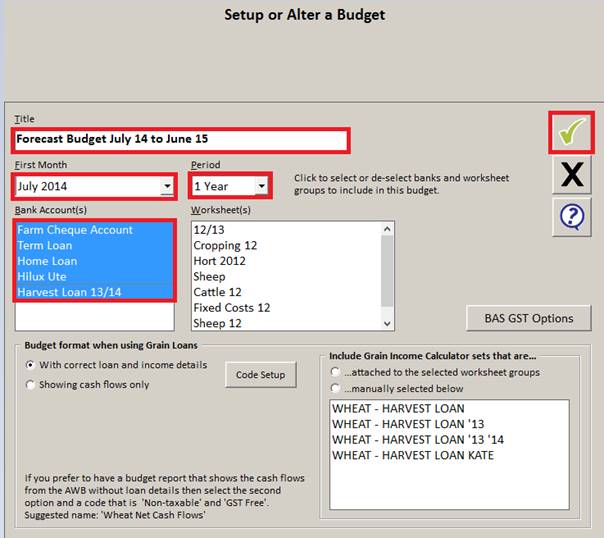
- Title field: Enter the title of your budget
- First Month field: Choose the start date of the new budget
- Period field: Choose the period
- Bank Account(s) field: Click on all the bank accounts that are required in the budget
- Click on the green tick
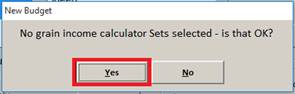
- The New Budget window opens. In this case, we are not going to include any GICs in this budget. Click on the Yes button
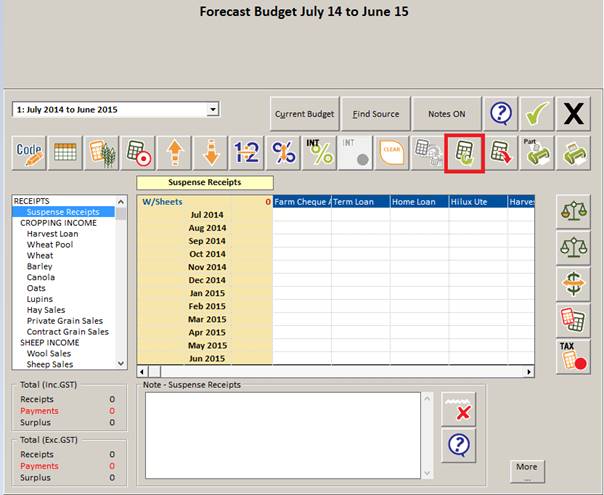
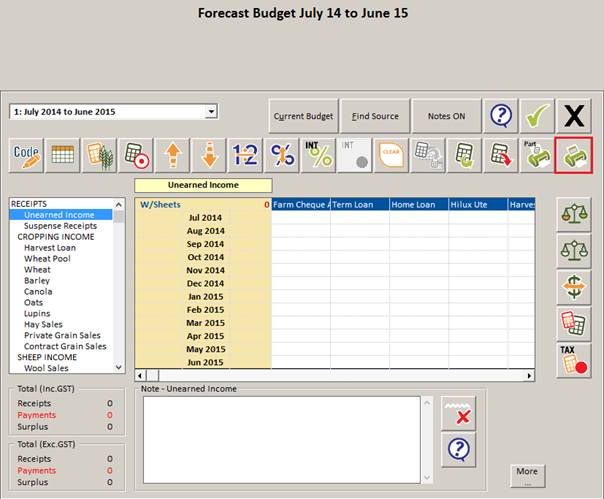
- In the new empty full budget (in the example below - the Forecast Budget July to 14 to June 15), click on the Import from Cashbook button to start the move to the Import screen
- The Import screen opens
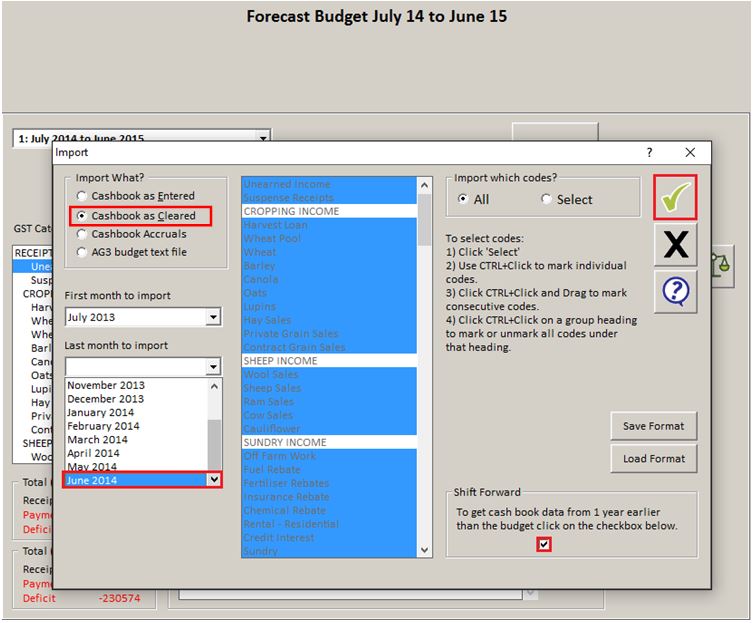
- Under the heading Import What?, click on the Cashbook as Cleared
- In the Shift Forward section, check the tick box to get the cash book data from 1 year earlier
- In the Last month to import field, select the last date in the previous year’s date range
- Click on the green tick
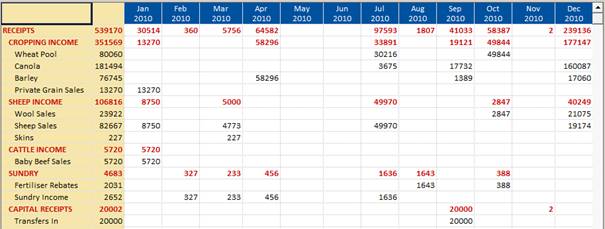
- After the importation of the data from the cashbook, the system takes you back to summary page of the budget. To view the data that has been imported, click on the print button underneath the black X
- We have retrieved the data from the cashbook from the period July 13 to June 14 and inserted this data into the budget under the next years’ dates of July 14 to June 15 (see column headings)
- We can now go through each code and update the figures with the projected figure for the July 14 to June 15 period. This is why we have called the budget a “Forecast”. Click in the cell under the correct bank account for the particular code and change this figure to the projected figure forecasted for the July 2014 to June 2015 period
For example: Click on the code Hay Sales and enter the figure 14580
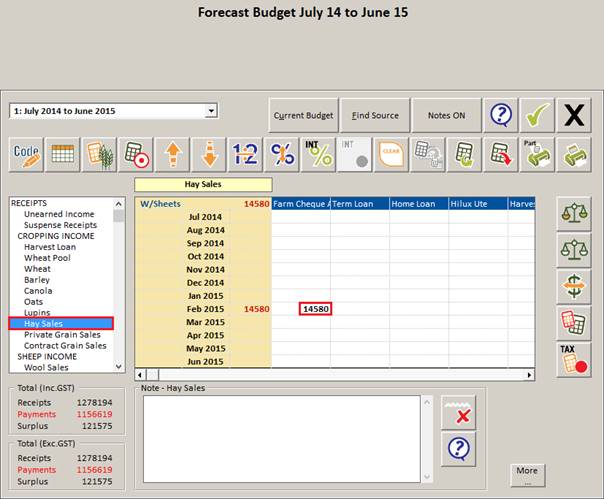
To see the result of the data entry to Hay Sales just entered, click on the
 icon on the screen above
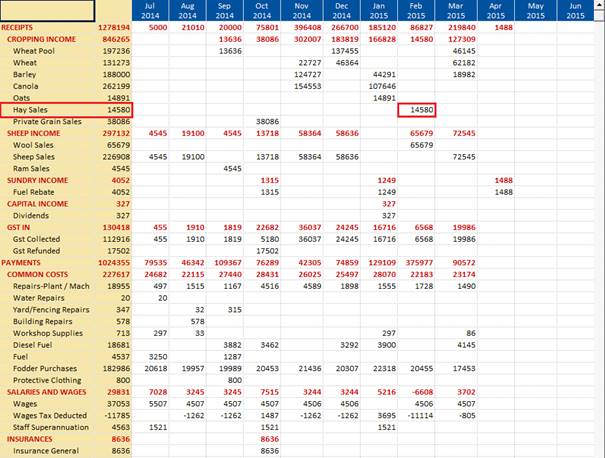
Comments